Our daughter wanted to make a headboard for her IKEA bed. Paul cut a board from OSB (strandboard). We used 1/2" board, and it is very reasonable at just $7.97 for a full sheet. This is available at Lowe's, and they will cut it for you also. Makes it nice to put into the back of the van, instead of a full sized sheet. So having our height of the headboard measurement along with us, they made the cut. Then back at home Paul cut the board on the left side and the right side, making a 45 degree slant. This gives it just a little more decorative touch. Paul constructed, using some old pieces of shelving, a backing that would be used to hang the headboard on to the wall. One piece was cut along the edge at an angle and attached to the wall. Tthe other piece an angle was cut along the edge and this board was attached to the back of the headboard frame. Then the headboard was simply set onto the wall piece, the two boards messing, and so the headboard is held up securely above the bed. It can also slide along that backing piece to adjust if needed to 'center' it above the bed, moving it leaft or right, if needed.
She and I visited a Joann Fabrics store and found a piece of velvet-like fabric on the Red-Tag Clearance table, and it was enough to do this headboard. So for just a total of $11.00 that was a good deal. We purchased some 3" thick dense poly padding too. This was the most expensive thing of the whole project, but using a 50% off coupon, it was $27.00 She wanted to have those hammer-head nails as a detail accent. To make things easy these days they have available nail heads (in silver, gold and bronze) in a roll, that is very easy to use -- with a 'hole' every couple of inches so a nail can be pounded in. Makes it so easy not to have to pound in each and every nail head! Paul had purchased a pneumatic stable gun that I used to make all the bedroom padded cornice boards. We also have an electric stable gun, but it just doesn't do the job like this great ($50) pneumatic one! Actually, I think our electric one would be fine too, but I think something broke on it, and the nails were not going into the board nice and cleanly...so he bought this new one. Love it!
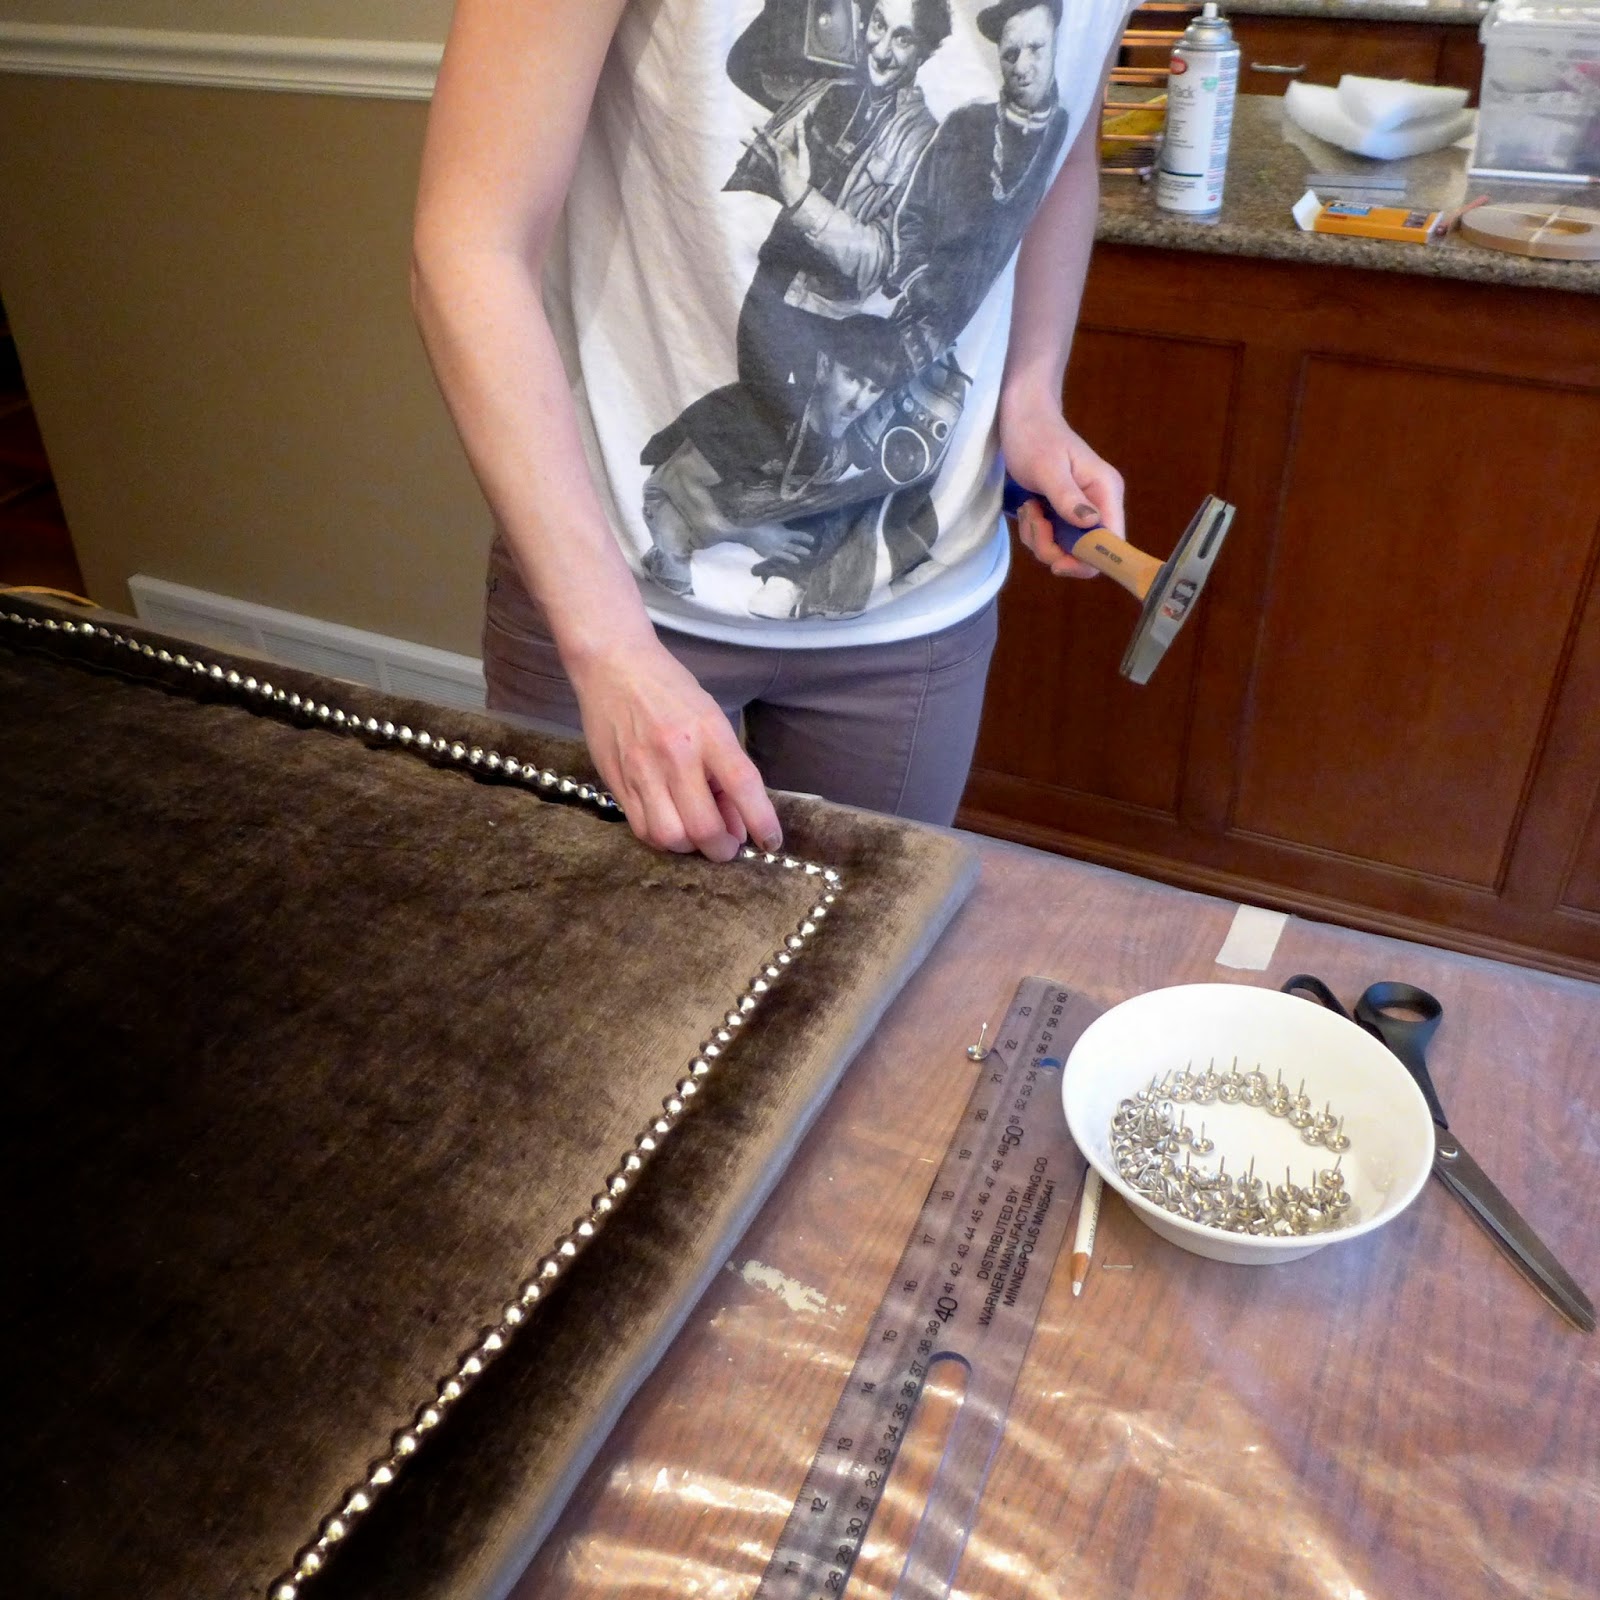
Here she is working on the, plastic covered, kitchen table.
The board is on the table. She has laid on the front side of the board, the poly batting. She used a spray adhesive on the board, then laid down the padding, Then it was stapled around the edge of the board. The padding was trimmed even with the edges of the board.
Next, the fabric was laid right side down on the table. The board was turned over, with the padding next to the back-side of the fabric. Then the fabric was pulled around to the back of the board and stabled all the way around. Notice the blue boards. The top board has an 'angle' cut on it, and a matching board was attached to the wall. This will be the means of hanging up the headboard. That extra small blue board was added just as a spacer so that the headboard lays flat against the wall.
Using a sewing chalk-marking pencil she drew a line 3" in from the edge, all the way around. Next she used the stable gun to place stables right on that line, making the fabric indented.
In the indentation she laid the nail-head decorative trim.
Every three heads there is a hole, and a nail head is pounded in all the way into the board
Almost done with the trim.
OK, lets take it to the bed and hang it up!
Finished! It really added a nice touch to her bedroom to have a headboard above the bed. Also, it is nice to lean up against it, while sitting in bed reading or whatever -- softer than propping up against a hard wall. You did a nice job. And with it attached to the wall the way it is, one can make any number of these headboards, and change them when you would like different look.