Friday, January 31, 2014

Replacing Doors

     All the interior doors were those old hollow cheap-o doors that were now fifty years old.  There were four going down the hallway to bedrooms and bathroom. The other was in the kitchen leading to the basement and entrance back door.
     We went to Keim Lumber, Charm, OH, and brought home five new solid core, four-paneled white primed doors. 
     After they were hung I painted them with three coats of Benjamin Moore Advance Satin finish paint. White in the hallway, White Dove on the kitchen door. I used a Wooster Micro-plush 5/16" roller.  Absolutely love those Micro-Plush roller covers. The paint dries like it is sprayed on. So smooth.

     The Hallway - Before (Click on collage photo)


The Hallway - After


Hallway Bathroom Door - After


The Kitchen Door - Before

Kitchen Door - After


Prior to hanging doors Paul used a template and router to recess hinges.


Lining up template and marking for the hardware.

Sara using a special tool to drill for the hardware holes.


A New Tile Floor

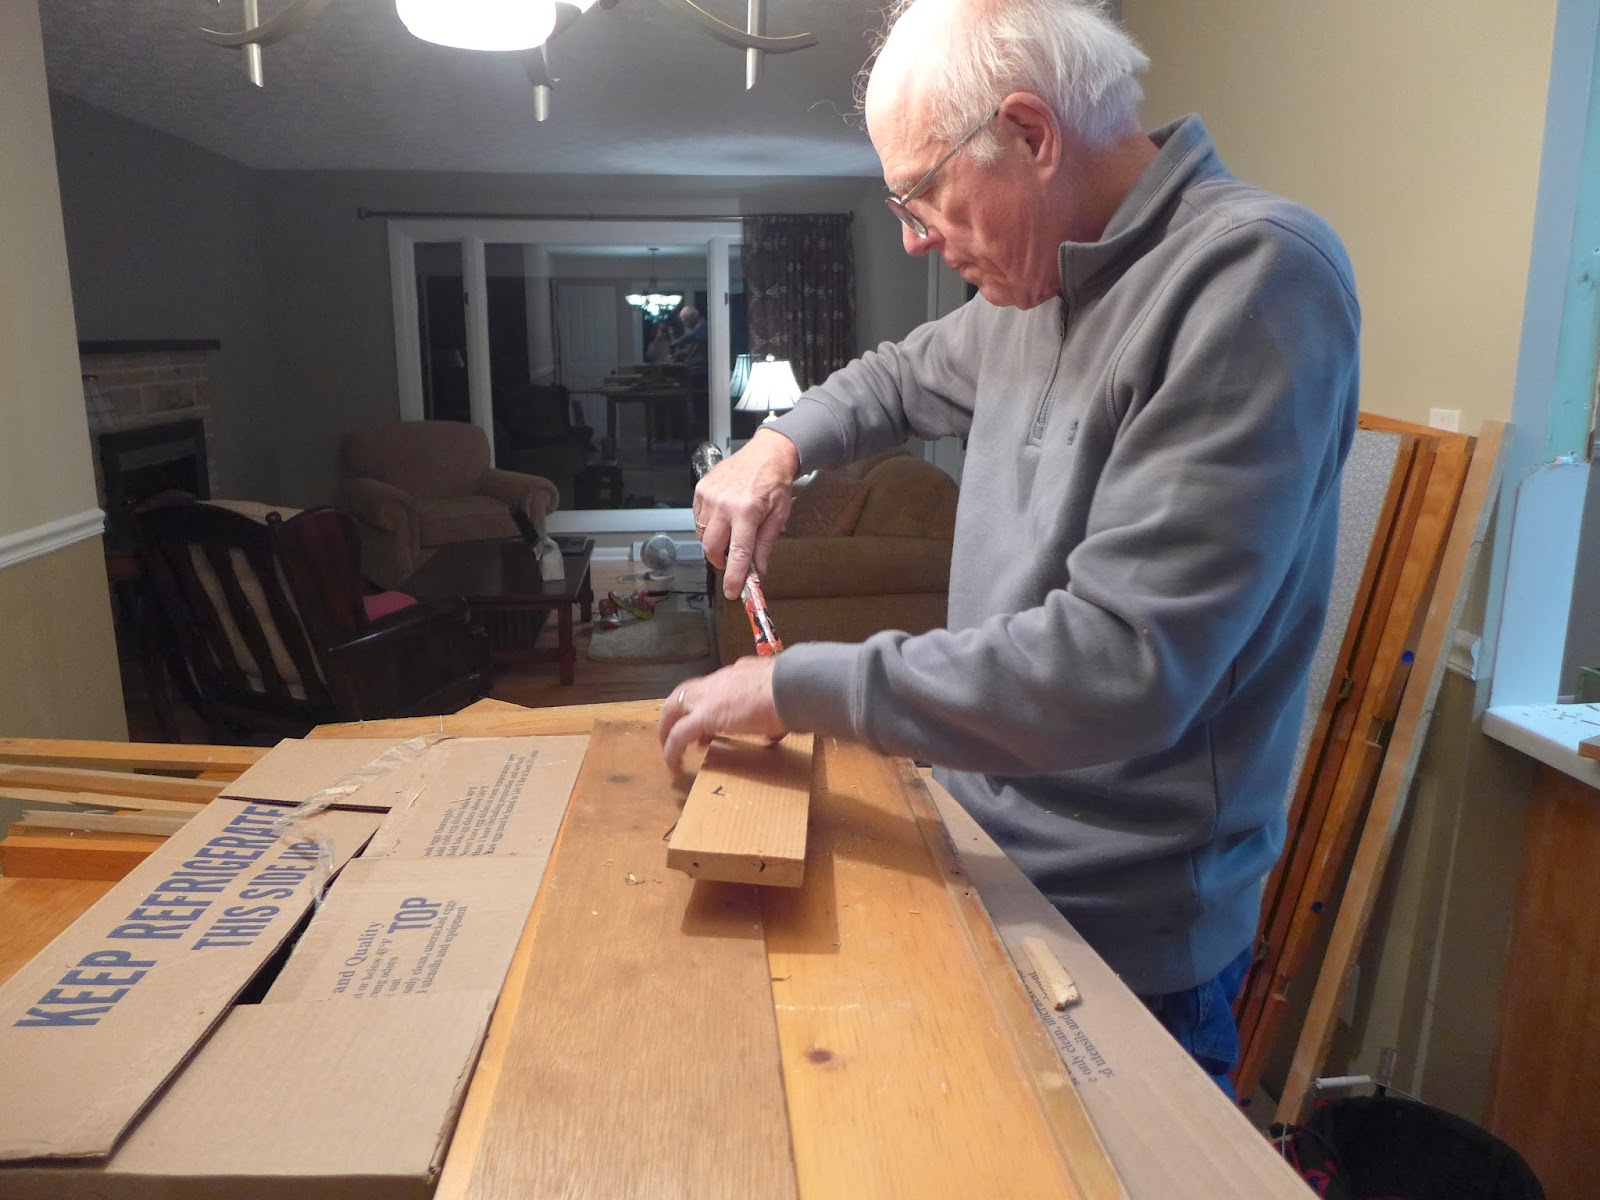
     Flooring has advanced light years since I last stepped into a flooring store, back in 2000 when we had to replace the kitchen floor after the house fire.  I spent a lot of time doing research online and visiting flooring places over the past few months.
     On the advice of our contractor, Danny Baisden, I went to Pro-Source Flooring in Canton.  I brought along samples of my quartz counter top and the wood cabinetry and decided to bring home the tiles that look and feel like ceramic but are what is referred to in the industry as a Luxury Vinyl. This type of flooring is warmer to walk on, quieter, and doesn't cause the fatigue to stand on for long period of time that ceramic tiles do. It is very durable and those with dogs/cats running around on it won't be damaged by their claws. Another plus is if something is dropped it will not shatter as it would hitting a ceramic floor. These tiles can be put down and left un-grouted or they can be grouted.
     I brought home about eight samples of 16"x16" tiles from both Armstrong's Alterna and Congoleum's DuraCeramic.  I laid them out in the room and we spent a couple days just looking at them in different lighting through out the day and night time.  I do like a fairly light floor as it doesn't show every crumb and dirt mark.  We ended up with this one:
DuraCeramic in the Roman Elegance series, Warm Clay RE-31.  We chose a coordinating grout, Ivory.

This is the recommended adhesive for DuraCeramic flooring.

Ben spread adhesive in small patches. It had to turn clear before the tiles could be laid down.
It was a waiting game all day. It took about 45 minutes for each area to tack-up.

Instructions say to roll a 100# weight across the tiles.


There are 'spacers' between all the tiles to make room for the grout.


This is an Acrylic Grout, which will not mold, mildew, or change color. Wonderful stuff.
You can see on the right side of the bucket the color patch - this is Ivory to go with our tile.

 He is filling the grout across the tiles, then he wiped with a wet sponge.
It did dry with a 'haze' that after 24 hours I mopped off the floor.

Eating side is finished

On the kitchen side of the room it the wall looked pretty ugly.


I decided to paint the back wall just so I did not have to see that mess of colors. I made a mock painted back splash in the beige color.  When the cabinets are put in and until a tiled back splash is finished, at least it will be one solid color to look at instead of the mix of old colors.
P.S.  I really like the recessed lighting in the kitchen. I will also have under cabinet lighting installed.

Thursday, January 30, 2014

A Mess of Tar Paper & New Sub Floor

STEP THREE:
Tar Paper is a huge ugly mess to remove.  Double click on the photos to see the details!


What a mess.  Will I ever see a kitchen and dining room?


STEP FOUR:
When it finally was all scraped off, they could move on to laying a new under layment. This was sheets of wood about a quarter inch thick.


 The adhesive artist

Who needs a table saw or saw horse? Just pick up the circular saw and make the cut.

Done and ready for STEP FIVE!  (Notice bag over light fixture. Keeps out dust)
Next up:  The new Congoleum DuraCeramic Luxury Vinyl tiles.


Wednesday, January 29, 2014

Watch Old Vinyl Floors Disappear

     The workers had a big job ahead ripping out the old flooring in the kitchen/dining area.  Layers of vinyl, staples by the thousands, and messy tar paper to scape off.  It kept them busy for two days.

Step one:
Ben begins to remove the top layer.  This sheet vinyl flooring was installed in 2000.
Notice I have put down a green and a cloth protective tarp over the newly sanded oak floors. Certainly did not want stuff getting ground into those newly refinished floors. 

The white flooring came up fast and then the fun would begin.  (Not)
 
Step Two:
Under the first layer of flooring was a thin wood sub floor.  When the people installed this they used an automatic staple gun and PLASTERED this whole floor repeatedly with staples. It was truly unbelievable!  They must have won the lottery on a year's worth of free staples and put every single box full of them on this floor.  They set the trigger to auto, pulled the trigger once and never let up on driving staples in the wood.


Where the vinyl had a seam there were hundreds more staples. Who ever did this job certainly did not want that gold vinyl to lift up!


 Staples not just on these strips, but click on the photo and you can see them sticking up everywhere.
 Tony using a 'claw' and continues the tedious job of removing staples.
Paul and I spent about 5 hours on the floor that evening.  We wanted to help this along so that when they returned in the morning they would have that many less staples to pull out.

 Finally!  All the staples have been removed and they can release the old gold flooring.
  And under all this was the icky tar paper.  Another challenge lay ahead of them.

 Read  Step Three-Four under the archive title " A Mess of Tar Paper & New Sub Floor"


Monday, January 27, 2014

Taking Out The Soffits

There were 12" bulk heads above our cabinets and we wanted to bring the cabinets all the way up to near the ceiling, creating additional storage space. The very top shelves in the cabinets will hold seldom used kitchen items.  I will need a little step stool to reach those items.
After Paul and I had gone ahead and ripped out the old cabinets I decided to start on the soffit just to see if I could remove it before the hired Dreamwood Construction workers arrived the next day.  Well, it wasn't all that easy.  But I used a sledge hammer and did what I could.


 Ben and Tony, from Dreamwood Construction, tackle the soffits


The joists are exposed and the longest soffit is done.  It will be dry walled and mudded by Tony.
The other soffit is on the other side of the galley, here Ben is ready to get it down.

Tony has the dry wall up..

Tony finishing up the seams on the dry wall.  Like magic, NO MORE SOFFITS!

Saturday, January 25, 2014

The Cupboards are Removed

     We started by removing all the cupboard doors and hardware.  Then I spent a morning boxing up all the contents of the cupboards and Paul took the boxes to the basement.  I kept a number of things handy to use in a little 'kitchen' down there. I had the microwave, dishes, and a single burner induction cook top, and of course the coffee machine. Important you don't bury the coffee pot!  The refrigerator was moved by the workers when they arrived, to the basement garage. I had a nice workable set-up to make simple meals during this renovation.
     After cleaning out the contents, we wanted to keep working along and soon found ourselves removing all the cabinets, the sink, dishwasher (neighbor is going to take that) and counter tops. Paul diligently removed every single nail from every board and all the boards and pieces were taken out to be stored in our big barn/shed. It is useable wood, he says, and is dreaming up some 'projects' for the wood.  
 My little galley kitchen Before Demolition!


Cabinets were brand new in 1965!  Good Bye! So Long!


The Doors and hardware have been removed. A big job, unloading everything from all the cupboards.  I marked every box with what the contents were so it will be easy to put it all back into the new kitchen cabinets.
Getting there with emptying out the cupboards.

Paul studies how to start removing the cabinet boxes

The dishwasher is gone.  The upper cabinets are out

We took the cast iron drop-in style sink out.  We will take it to the metal recycle center.
The two of us carefully removed the Corian counter top on this long wall and the short peninsula across from this wall. .
Oh my! Water had leaked under there in the sink area.

It was a lot of work, but he carefully removed every nail from all the boards.

 The stove has been removed along with the tall storage open pantry that was next to it.
Next and last cabinetry to be removed is this lower peninsula that divides the kitchen and eating area.
 

  The AFTER on this wall. 


 The AFTER on this side of my galley kitchen.


 Ready for the workers to come in for soffit removal, wiring, canned ceiling lights, floor removal and new floor installation.